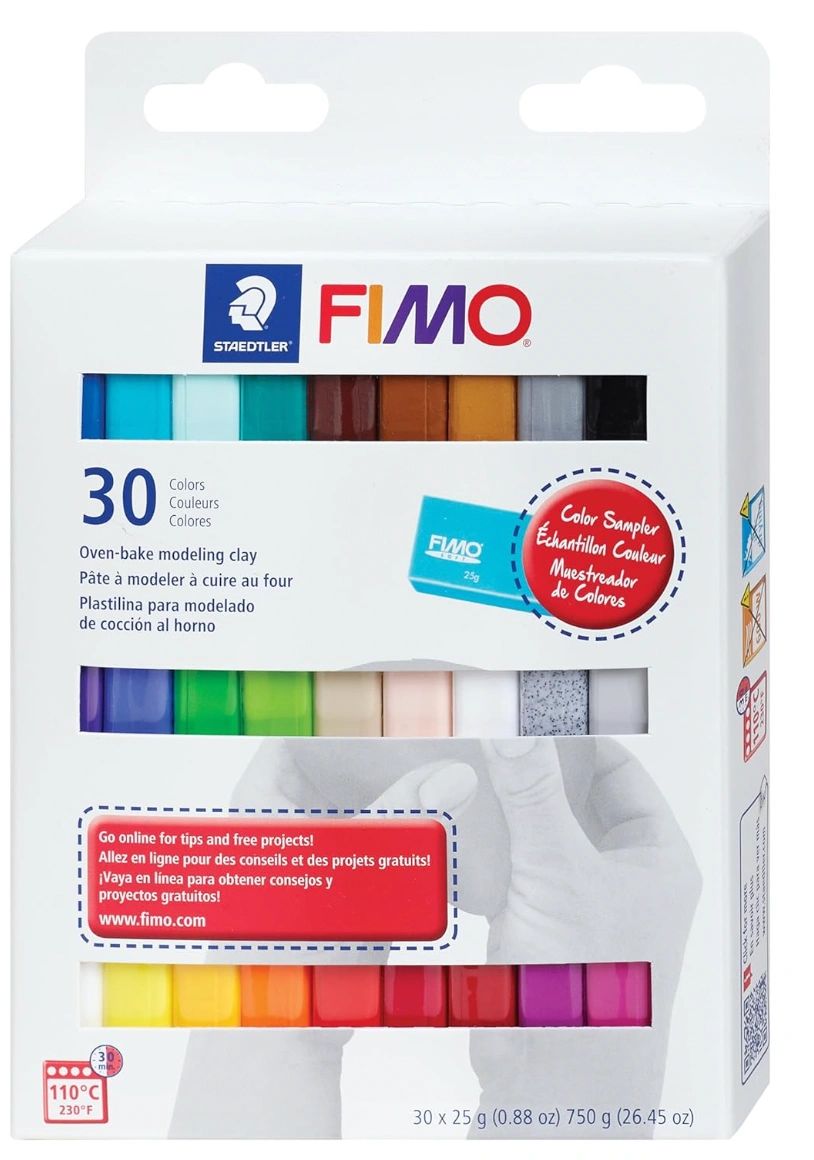
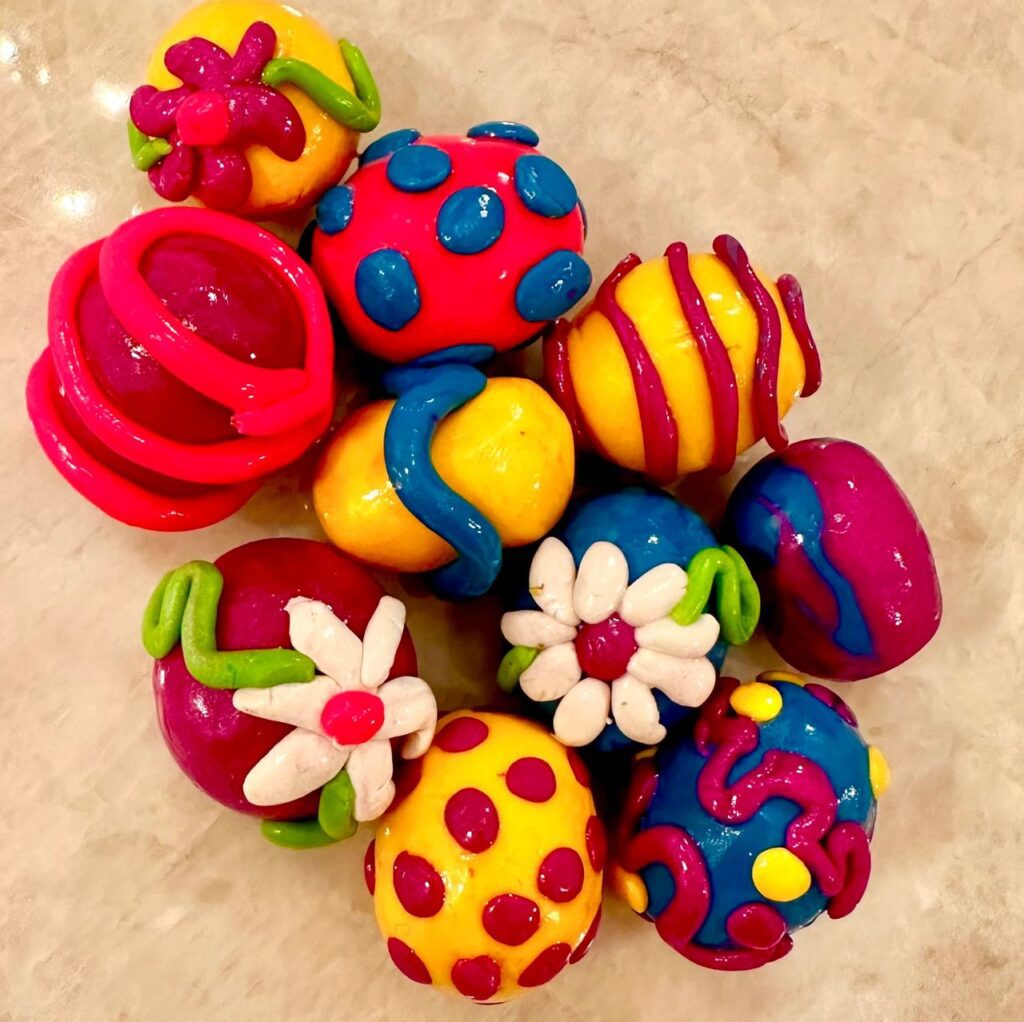
Create joy this Easter holiday by sculpting miniature clay Easter eggs with your children. These bright and festive Easter eggs are very simple to make and you only need a few materials. I use polymer oven bake clay by Sculpey or Fimo. These brands tend to be a little bit more expensive than the generic alternatives but I have had such brilliant outcomes that I stick with Fimo and Sculpey. For Easter eggs, I use a combination of pastel colors and vivid colors. I used this Fimo Soft Oven Bake Clay because it has a great mix of colors and there is the perfect amount of clay to make a few eggs of each.

I also use Sculpey Premo Souffle clay for Easter eggs. I like this product because it contains metallic, glitter, and suede effects that add a little extra beauty to your eggs. Either product works great, they just vary depending on the look you are going for.

I like to use plastic clay tools because they are so inexpensive and they perfect for children. You can also use Playdough tools if you have any at home.

When shaping clay, my children work on this silicone baking mat. It is same mat that I use for rolling cookie dough. The silicone mat helps to keep the clay smooth and not pick up any crumbs, fibers, or other particles. Especially when helping young children, this is an easy way to keep the different parts of the Easter eggs centered in one spot so that we don’t end up with a clay mess all over the place.

Step 1
The first step is just teaching children how to roll the clay into a small egg shape. I do this by modeling how to roll a ball of clay in their hands. This is the same method they would have shaped balls using Playdough. Polymer clay is denser so it takes more effort than Playdough to shape, which can be a positive or negative depending the age of your child. For very young children, it might be difficult to shape eggs using polymer clay. I have found that children ages 8+ have the hand strength, fine motor skills, and patience for making clay eggs.
Step 2
Start with the lighter colors first. I recommend making one or two eggs of each desired color, beginning with the lightest color and moving to the darkest color. Some of the clay color will end up on your hands and will transfer to the other eggs, which is why you want to work from light to dark. Once your eggs are shaped put them aside.
Step 3
I recommend reading Jan Brett’s The Easter Egg to children before the design Step 4. This picture book is a feast for the eyes of various gorgeous Easter scenes and decorated eggs. Inspiration can easily be derived from the illustrations for many creative designs.

Step 4
Before adding any embellishments, make sure to wash your hands to avoid transferring the dark clay color on to your light egg detail. When choosing colors for your embellishments, start with your lightest color and move to your darkest to avoid color transfer. The easiest way to create designs is to roll out a very thin layer of clay. The layer should be even and smooth. You might need to help your child get the thickness even throughout. Then you will choose a tool to help create the desired swirl, stripe, polka dot, or flower, and carefully dab the design on to the egg. If you press too hard, the egg will become misshapen. As carefully as possible, gently touch the detail to the egg to attach it. They detail will stick with just a careful touch. Place the completed egg onto a cookie sheet. Bake on a cookie sheet with parchment paper and accordingly to the clay’s directions. Sculpey and Premo are slightly different on cooking times and temperatures, so it is best to follow the package directions. Once your eggs are done cooking, take them out to cool for at least 15 minutes before handling.

Step 5
Once your eggs are cool, you can add a Sculpey glaze to give your eggs a finished shine. Use a cheap, small, paint brush that you don’t mind tossing after glazing your eggs. Give your eggs a few hours to fully dry and then you can use them to decorate for Easter. My kids love to fill miniature Easter baskets with their clay eggs and use them to make little Easter scenes around the house or to play Easter with dolls.


